Choosing Wood for Your First Projects
Pine and oak work best for beginners. We explain grain patterns, moisture content, and which woods resist rot for outdoor projects.
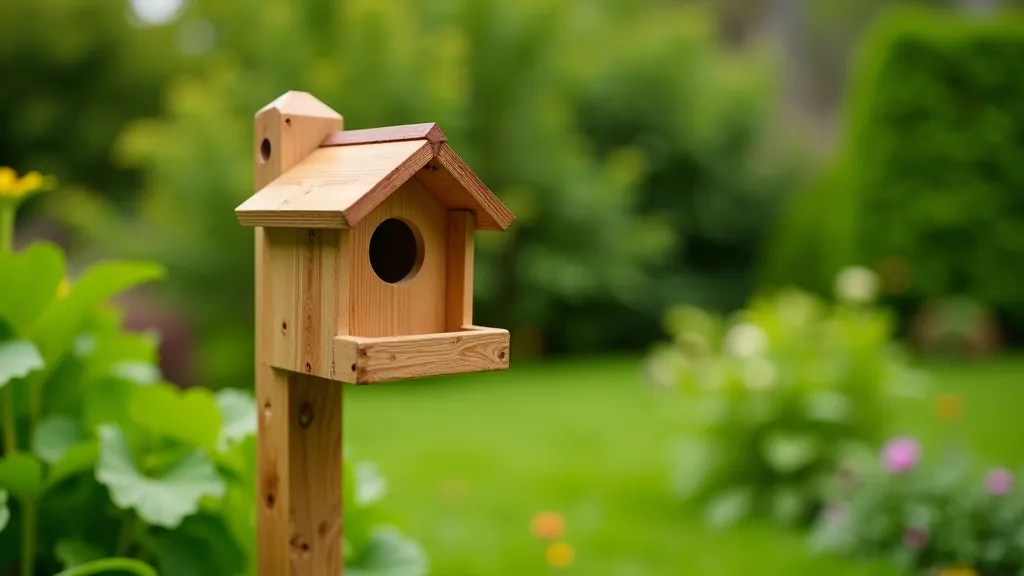
A straightforward guide to crafting a functional wooden birdhouse from start to finish in just two days.

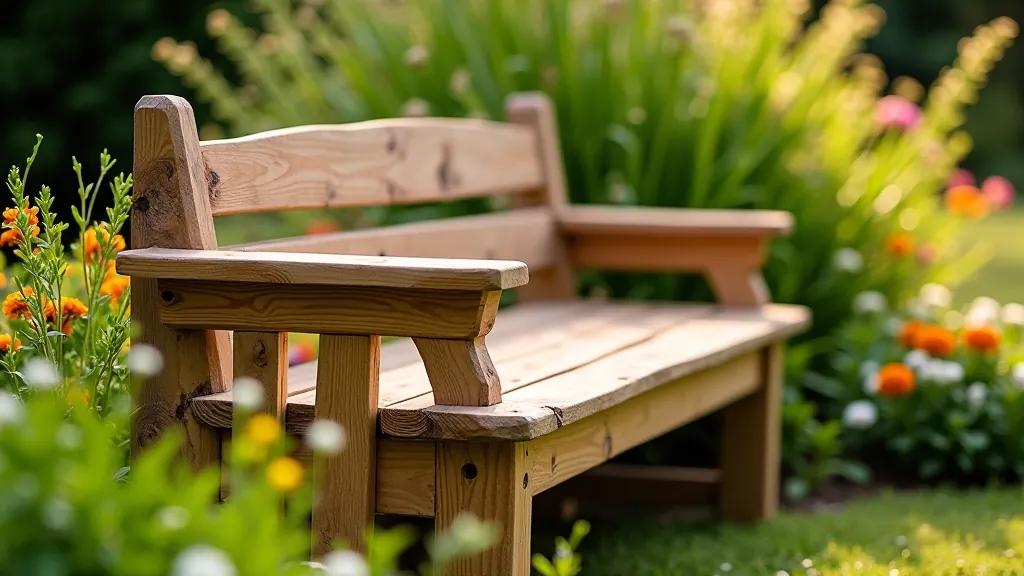
Building a birdhouse isn't just a fun weekend project — it's a chance to help local bird populations find safe nesting spots. You'll learn basic woodworking skills, get some hands-on experience with tools, and end up with something genuinely useful for your garden. Plus, you'll see birds actually move in and raise families in a home you built. That's pretty satisfying.
The best part? You don't need expensive materials or advanced skills. A few boards, some nails, and basic hand tools are all you need. We're talking about 6-8 hours of actual work spread across Saturday and Sunday morning.
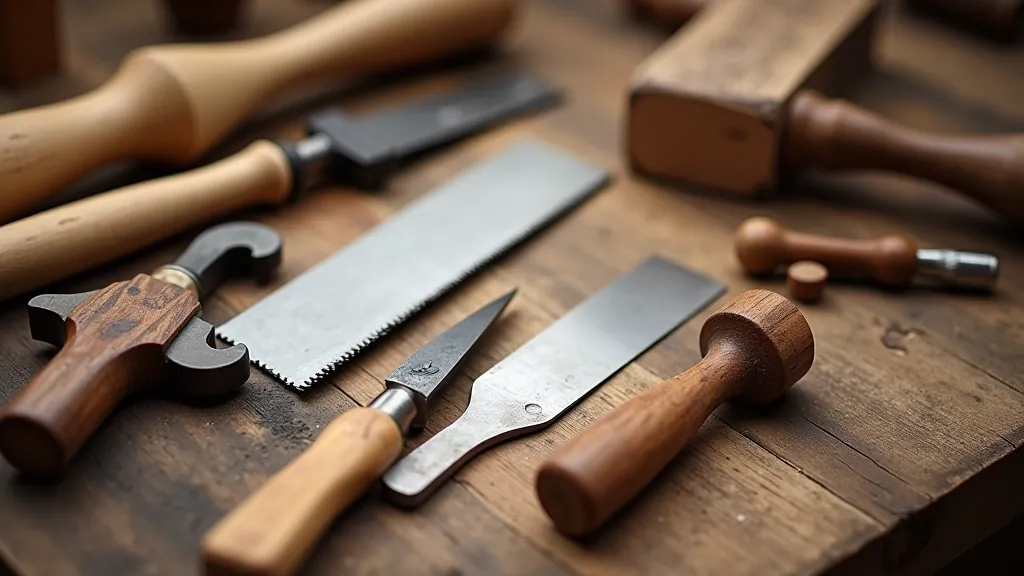
Before you start, gather these materials and tools. Don't worry if you don't have everything — most people can borrow or substitute items from neighbors or friends.
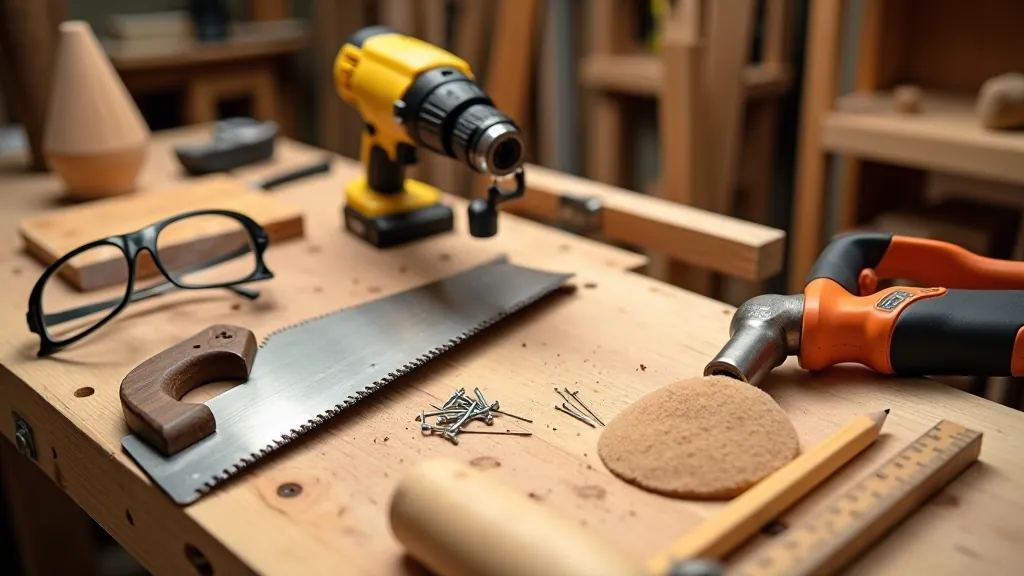
We'll walk through this step by step. It's straightforward once you understand the layout. Most of the work is cutting and drilling — no complex joinery involved.
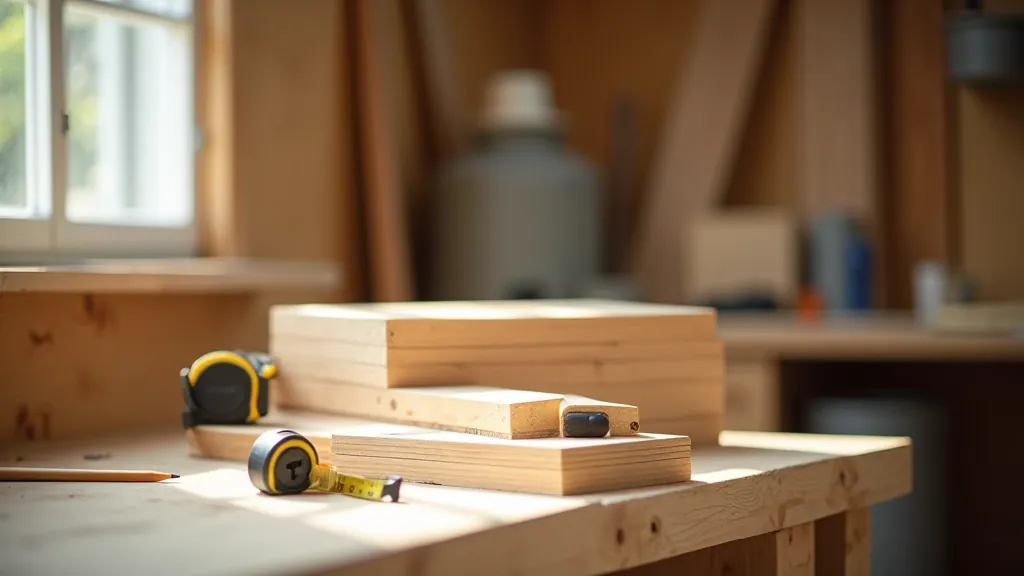
From your 1" × 8" board, you'll cut five pieces. The front and back walls are 8 inches tall. The sides are 5 inches. The bottom is a 5" × 5" square. The roof overhangs slightly, so cut it at 6" × 9". Don't rush this part — accurate cuts make assembly much easier. If you're using a hand saw, take your time. A power saw goes faster but hand saws give you more control when you're starting out.
Sand all pieces with 120-grit sandpaper first, then finish with 180-grit. You want smooth edges so birds won't get splinters and so the wood looks clean when assembled.
Mark the center of your front wall about 2 inches from the top. Drill a 1.25-inch hole here — this is the right size for wrens, bluebirds, and similar species. Don't drill too close to the edge or the wood will split. Use a spade bit or hole saw if you have one. If you're using a regular drill bit, go slowly and support the wood from behind so it doesn't splinter as the bit exits.
Lay out your front, back, and side pieces. Apply wood glue to the joints where the sides meet the front and back. Then nail them together using 1.5-inch nails — three nails per joint works well. If you're using screws, pre-drill holes to prevent splitting. Attach the bottom piece last. It should be slightly recessed so water can drain. Leave about a quarter-inch gap between the bottom and the walls on each side.
The roof piece sits on top and overhangs slightly in front. This keeps rain from running down into the entrance hole. Nail it down with two or three nails. You can also hinge one side of the roof so you can open it later to clean out old nesting material — this is useful after breeding season ends in late summer.
Drill a few small drainage holes in the bottom if water might collect. You can also drill small ventilation holes near the top of the side walls. Don't paint the interior — birds prefer natural wood. If you want to paint or stain the outside, use non-toxic finishes. Some people leave them natural and let them weather to gray, which looks good and lasts for years.
Once your birdhouse is finished, you'll need to mount it somewhere. Height matters — most species prefer their nesting box between 5 and 15 feet off the ground. A 6-8 foot mounting on a post or tree works for most backyard birds.
Face the entrance hole away from prevailing winds, which usually means facing east or southeast. You want morning sun but afternoon shade. A location near shrubs or trees gives birds a sense of security while they approach.
Mount it in early spring before breeding season starts — late February or March in most regions. Once birds discover it, don't disturb them. You can check it once a week if you're careful and quiet, but leave them alone during nesting season. In late August after the birds fledge, you can open it up and clean out the old nest material and droppings. This helps it last longer and gives you a chance to spot any mites or parasites.

This article provides general guidance for building a functional birdhouse. Specific requirements vary by bird species, local climate, and regional nesting seasons. We recommend consulting local birding groups or wildlife organizations in your area for species-specific recommendations. Always prioritize safety when using tools and mounting structures.
Pine is affordable and easy to work with. Cedar lasts longer and resists rot. Avoid treated lumber — chemicals aren't safe for birds. Hardwoods like oak are durable but harder to drill.
Birds aren't picky about fancy finishes. Rough edges, slightly crooked assembly, uneven stain — they don't care. What matters is that it's dry, has drainage, and the entrance hole is the right size.
Consider a baffle below the birdhouse if you're mounting it on a pole. This keeps squirrels and cats from reaching the entrance. A simple hardware cloth cylinder works perfectly.
Your first birdhouse doesn't need a hinged roof or decorative trim. Build the basic box first. Once you understand how it works, you can get creative with your next one.