Choosing Wood for Your First Projects
Pine and oak work best for beginners. We explain grain patterns, moisture content, and which woods actually last outdoors without rotting in two seasons.
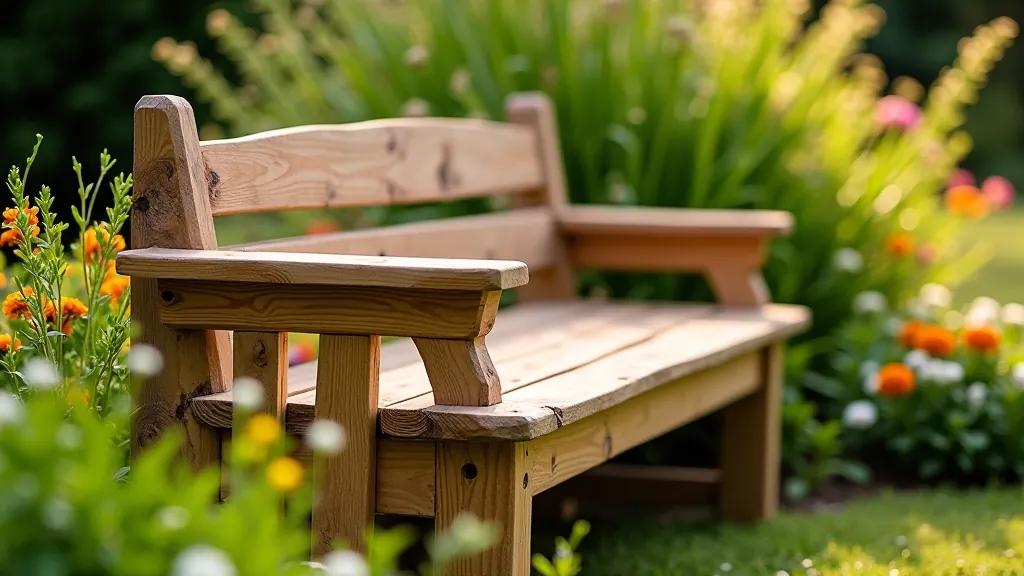
Build a sturdy outdoor bench that'll last for years. We'll walk you through the frame construction step-by-step, from selecting your lumber to finishing the joints. This isn't complicated — just honest woodworking.
The frame is everything. Get this right and your bench will support weight properly, won't rack side-to-side, and will stand straight for decades. We're talking about the four main posts, the support rails, and how they all connect together.
Most people rush this part. They cut their pieces and slap them together without thinking about grain direction, wood movement, or joint strength. That's how you end up with a wobbly bench that looks sad after one winter.
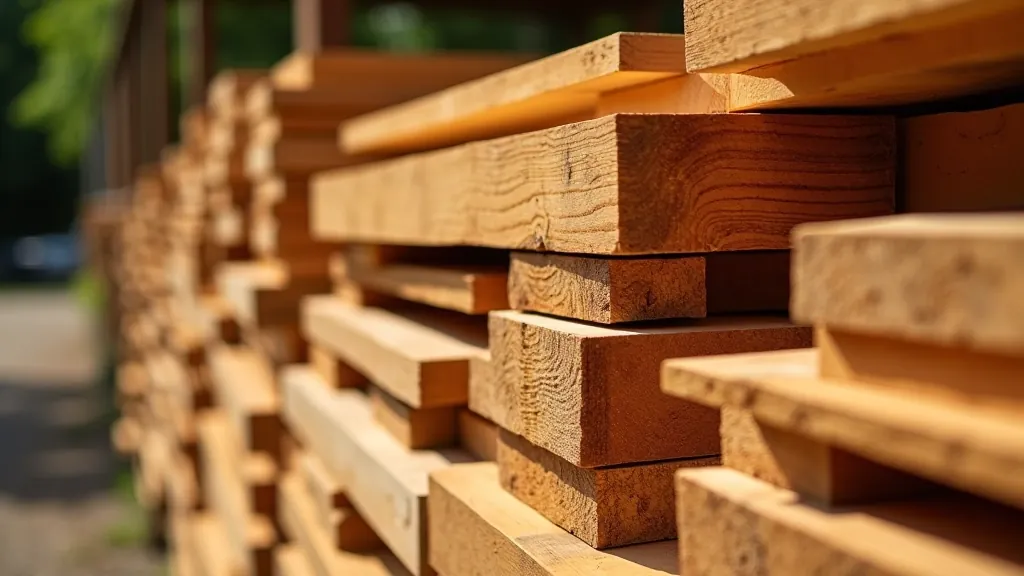
You'll want pressure-treated wood or something naturally rot-resistant like cedar or redwood. We typically use 4x4 posts for the legs — they're substantial enough to look right and strong enough for the job. For the rails and supports, 2x4 lumber works well.
The key is checking your wood before you buy it. Look for straight grain, no major knots where your joints will be, and consistent color. Warped pieces will haunt you later. Spend ten minutes at the lumber yard running your hand along the boards and you'll save yourself hours of frustration.

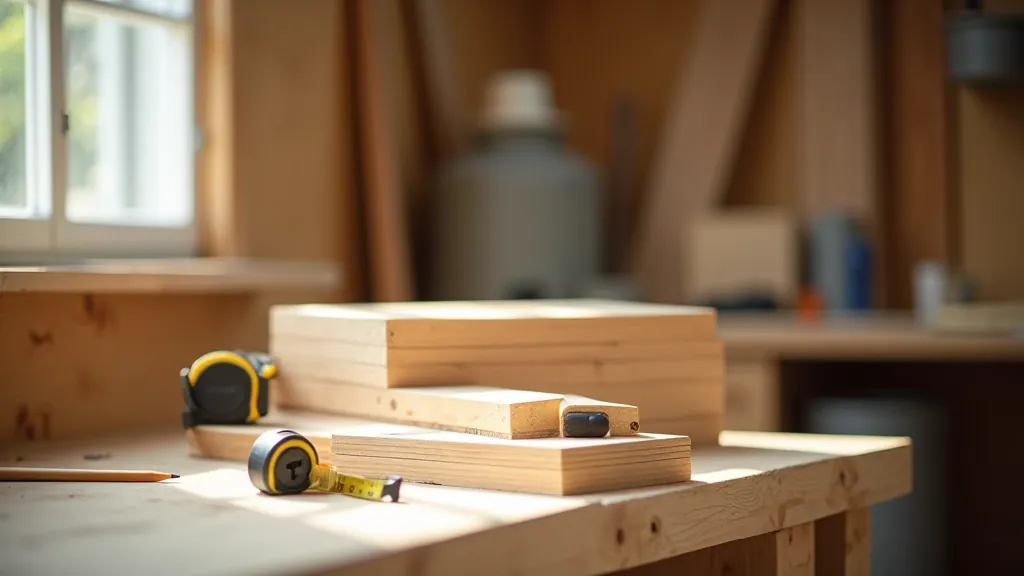
Accuracy here changes everything. Your posts should be cut to exactly 16 inches for the legs. The front and back rails need to be 48 inches long, and the side rails 18 inches. A miter saw is your best friend for this work — you'll get cleaner, more consistent cuts than with a circular saw.
Mark your measurements with a pencil, not a pen. Wood moves, and you need to be able to erase and adjust. We usually make a test cut on a scrap piece first to confirm our measurements. Takes an extra five minutes but catches mistakes before they're expensive.
After cutting, sand all your edges with 80-grit paper. This removes the sharp factory edge and makes assembly easier. You're not aiming for smooth yet — just not dangerous.
This guide provides educational information about garden bench construction techniques. Results depend on your skill level, materials, tools, and working conditions. Always wear appropriate safety equipment when using power tools. If you're new to woodworking, consider taking an in-person workshop or consulting with an experienced builder before starting your project.
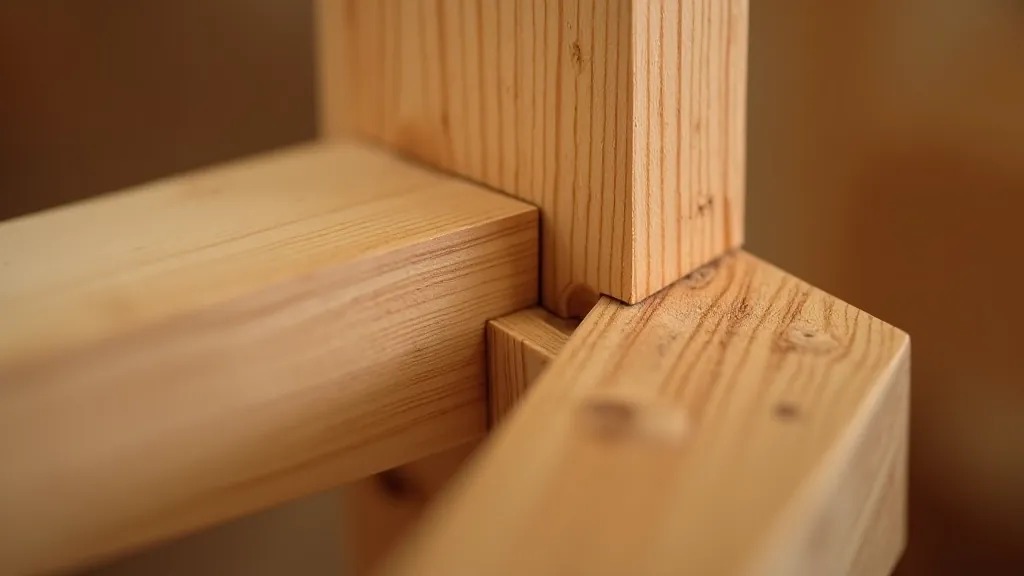
Here's where it gets real. You're connecting your posts to your rails, and the joints need to be solid. We use mortise and tenon joinery for the main frame — it's stronger than just bolting things together and looks better too.
Cut your tenons (the protruding parts) on the end of each rail. They should be about one-third the thickness of your 2x4, so roughly three-quarters of an inch thick. The mortise holes in your posts go in about two and a half inches deep. Don't go all the way through — you want the wood on the other side to stay intact.
When you're happy with your fit, it's glue time. Use exterior-grade wood glue — it's waterproof and holds better than the indoor stuff. Apply glue to both the tenon and inside the mortise. Don't be stingy, but don't make a mess either. You want glue squeeze-out around the joint, which tells you you've got full contact.
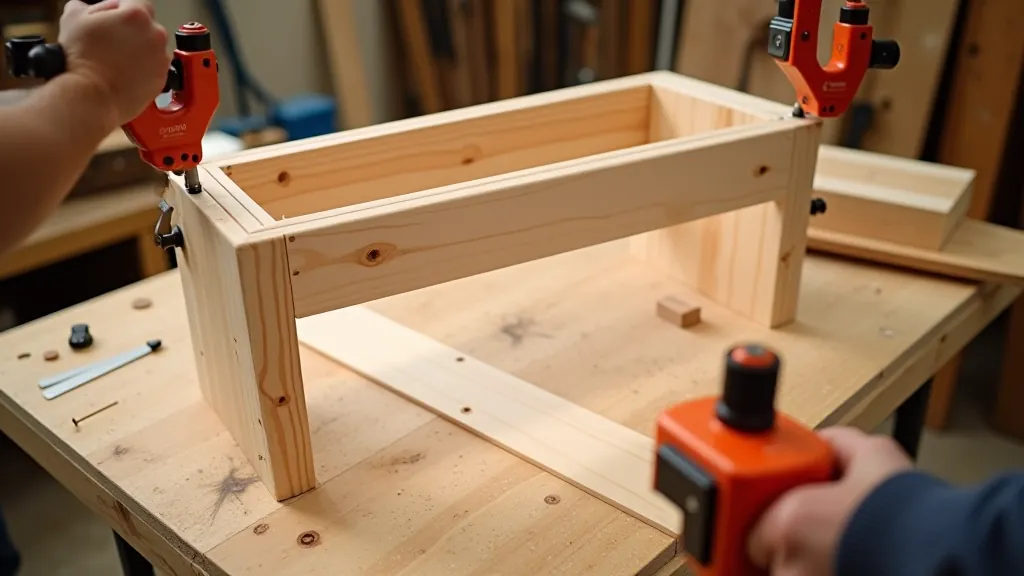
Clamp the frame together and check for square. Place a straightedge across the diagonals — if they're equal length, you're square. If not, apply gentle pressure to a corner until they match. Let your glue cure for at least 24 hours before moving the frame around.
Once cured, drill pilot holes through your joints and add stainless steel bolts as backup. Two bolts per joint is plenty. This gives you mechanical strength on top of the glue bond, and your bench won't fail even if someone decides to use it as a gymnastic apparatus.
That's your frame. Once you've got this part right, everything else is easier. The seat slats, the back support, the finishing — they all attach to a solid foundation that won't let you down.
Take your time with the joinery. Don't rush to glue until you're absolutely sure everything fits. A bench built this way will look good for decades and actually improve with age. Your friends will ask where you bought it.
Want to see the full bench design?
Explore More Woodworking Guides